How to Add Your Website to Google Search Console (A Beginner-Friendly Guide)
Key Points
- Google Search Console site verification proves you own your site, so you can track search performance and submit content for indexing.
- Beginners should start with the URL prefix method and the HTML tag option.
- The most common reason verification silently fails: pasting the WPCode snippet but forgetting to name it and toggle it ON.
- If the HTML tag won’t verify, the HTML file upload via your host’s File Manager (public_html) is the reliable fallback.
- After verifying, submit your sitemap (sitemap_index.xml in RankMath) and never delete the tag or file.
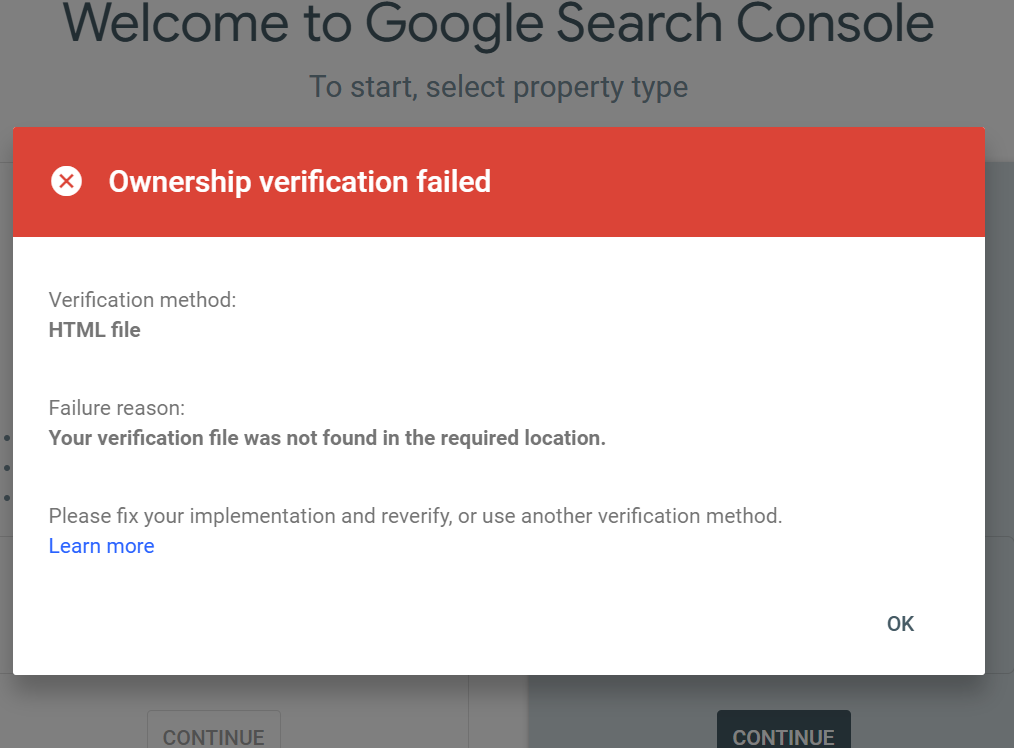
Struggling with Google Search Console site verification? I did too. When I first set out to add my website to Google Search Console, I assumed it would be a quick one-click job. It wasn’t. I followed every instruction — copied the code, used the plugin, saved everything — and when I clicked “Verify,” nothing happened. No green tick, no confirmation, just a refusal and a lot of frustration.
If you’ve been there, I get it. Here’s exactly what went wrong for me, and how I finally got Google Search Console site verification to work.
Why Google Search Console site verification matters
Before the setup, here’s why this is worth doing. Google Search Console site verification lets you track how your site performs in search, submit your content directly to Google for indexing, and spot crawl issues, broken links, or visibility blocks before they cost you traffic. In short, it’s the difference between publishing and hoping versus actually knowing you’re showing up.
Step 1: Open Google Search Console
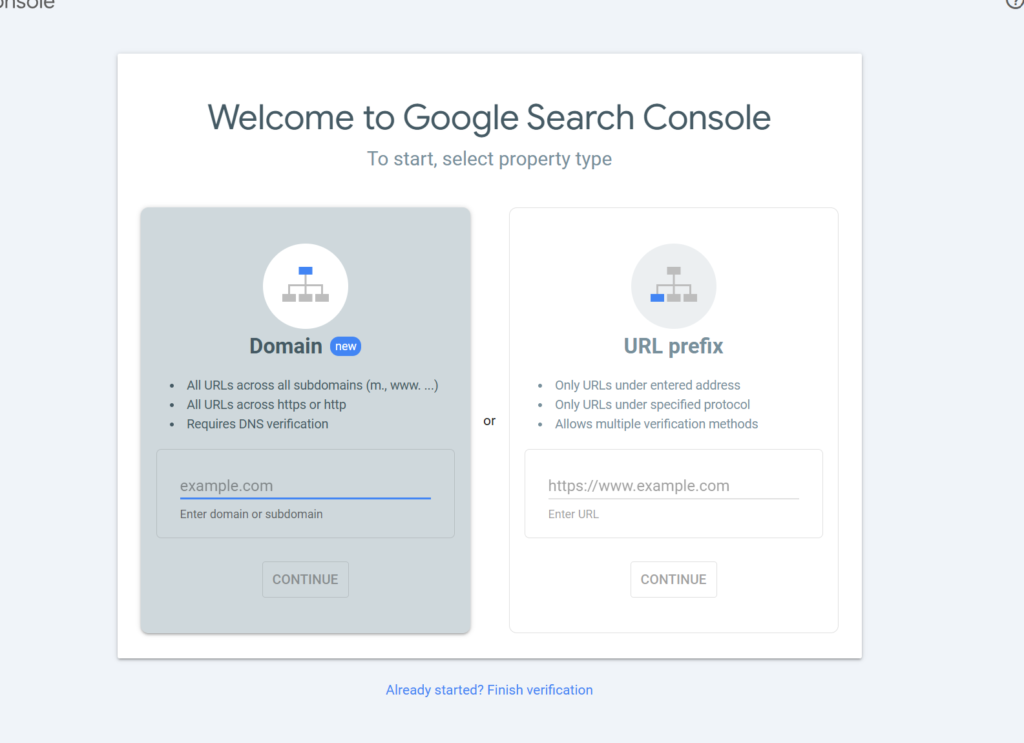
Go to Google Search Console and click Start Now. You’ll be asked how you want to verify your site.
Choose the URL prefix method — it’s the simplest for beginners. Enter your full website address, including the https:// (for example, https://yourdomain.com), then click Continue.
Step 2: Choose the HTML tag method (not the file, yet)
The first time, I missed the HTML tag option entirely and tried downloading the verification file instead — which I then had trouble uploading. Eventually I scrolled down and picked HTML tag under “Other verification methods.”
Google handed me a meta tag that looks like this:
<meta name="google-site-verification" content="abc123xyz" />I copied it and got ready to insert it into my site.
Step 3: Install the WPCode plugin to add the tag
To get that tag into the header without touching theme code, I installed WPCode – Insert Headers and Footers. From your WordPress dashboard, go to Plugins > Add New, search for WPCode, then click Install and Activate.
Step 4: Add the meta tag using WPCode
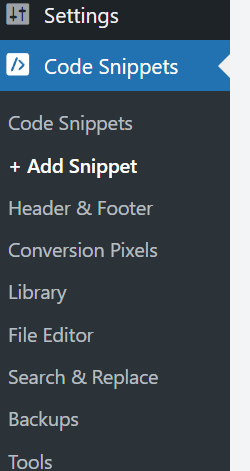
Once it’s installed, go to Code Snippets > Header & Footer, scroll to the Header section, paste the entire tag Google gave you, and click Save Changes.
Here’s the part I got wrong the first time: I didn’t name the snippet properly or switch it on. A pasted-but-inactive snippet does nothing, which is exactly why my early attempts failed.

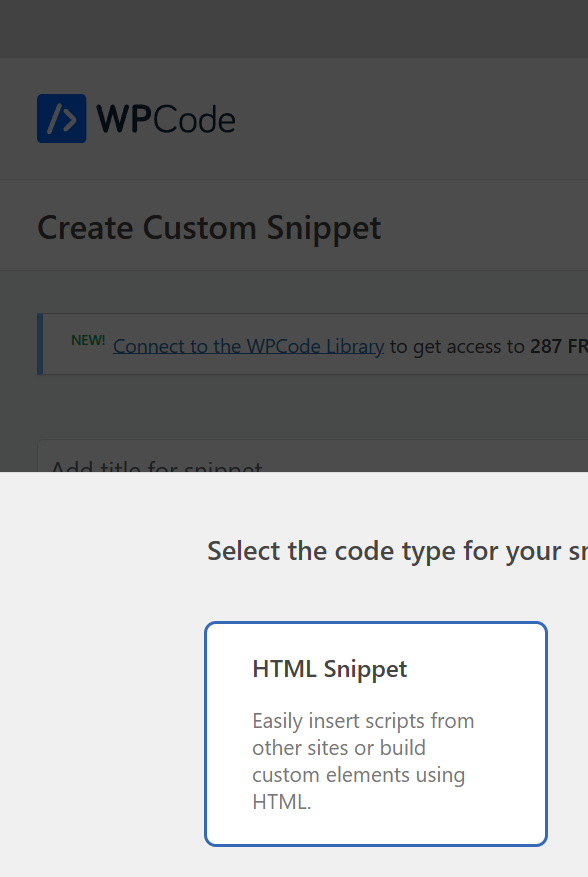
Step 5: Create the snippet and turn it ON
So I redid it properly. I clicked Add Snippet, chose Add Your Custom Code, named it “Google Verification,” set the type to HTML, pasted the meta tag into the header field, then flipped the toggle ON and saved. That last toggle is what actually pushes the tag live into your site’s header.

Step 6: Upload the HTML file manually (what finally worked for me)
Even after all that, Google still wouldn’t verify. So I switched to the HTML file upload method, and this is the one that did it.
In Search Console I chose HTML File and downloaded the verification file. Then I opened my Hostinger File Manager, clicked Access files of whitebalanceai.com, entered the public_html directory, hit Upload at the top, and selected the file. Once it uploaded, it appeared in the list with a code icon — sitting exactly where Google wanted it, at the root of my domain.

Step 7: Go back and click Verify
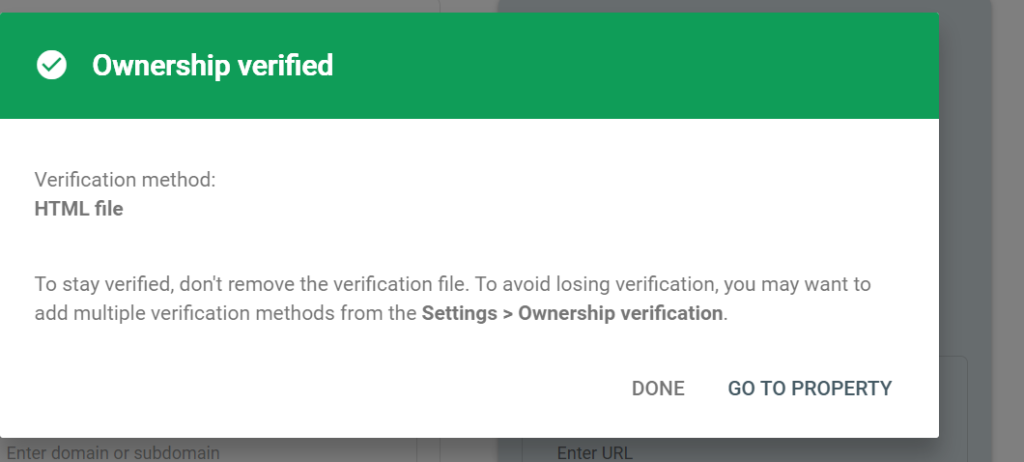
With the file confirmed in the right place, I returned to Google Search Console and clicked Verify. This time it worked instantly — “Ownership Verified” appeared with no fuss. After fighting the tag method, the file method was the clean, stress-free fix.
Step 8: Submit your sitemap
Verification done, I submitted my sitemap so Google could crawl my content and understand the site structure. Go to the Sitemaps tab in the left menu, add sitemap_index.xml, and click Submit. (That’s the RankMath sitemap filename — if you use a different SEO plugin, your sitemap path may differ.)
sitemap_index.xmlA few tips that save the headaches I had
Don’t skip the snippet activation toggle in WPCode — an unsaved or “off” snippet is the most common reason Google Search Console site verification silently fails. If the HTML tag method won’t cooperate, switch straight to the HTML file upload, which is more reliable. Wait a minute after saving or uploading before you click Verify, so the change has time to go live. And once you’re verified, leave the tag or file in place — deleting it can un-verify your site later.
The takeaway
I thought I’d done everything right the first time, but one small detail — an unactivated snippet — made Google ignore every attempt. The moment I uploaded the HTML file directly through my host’s file manager, Google Search Console site verification went through cleanly. If you’re setting up your own site, I hope this lets you skip the frustration I went through.
If you’d rather have a clean, SEO-ready site that’s wired up for Google from day one, that’s exactly the kind of build I do at WhiteBalanceAI. For related WordPress walkthroughs, see my guides on installing an SSL certificate on WordPress, fixing common WordPress errors, and adding outbound links without coding.
If you’re setting up your site and want it verified, I hope this helps you skip the headaches I faced.
Frequently Asked Questions
Why should I verify my website with Google Search Console?
Verifying your website with Google Search Console allows you to monitor search performance, submit pages for indexing, identify crawl errors, fix broken links, and understand how Google views your website. It helps ensure your content is discoverable instead of simply being published online.
What’s the recommended verification method for beginners?
For most WordPress users, the URL Prefix property combined with HTML tag verification is the easiest method. It requires minimal technical knowledge and can be completed in just a few minutes using a header plugin.
How do I add the HTML verification tag to my WordPress site?
Install the WPCode – Insert Headers and Footers plugin, open Code Snippets → Header & Footer, paste the complete verification tag into the Header section, save your changes, give the snippet a name, and make sure the snippet is switched ON. Without enabling it, Google won’t detect the verification tag.
What if the HTML tag method doesn’t work?
Use the HTML file upload verification instead. Download the verification file from Google Search Console, upload it to your website’s public_html folder using your hosting File Manager, then return to Search Console and click Verify. This method works directly from your server.
Are there other verification methods available?
Yes. Google also allows verification using a DNS TXT record, an existing Google Analytics tracking code, or a Google Tag Manager container. Choose the option that best fits your website setup and technical experience.
How do I confirm the verification tag is correctly added?
Open your homepage, view the page source in your browser, and search for the verification tag inside the <head> section. If you’re using a caching plugin, clear the cache before checking again, then return to Google Search Console and click Verify.
👋 About the Author
I build advanced technical systems that turn search visibility into revenue pipelines. If you want to move beyond basic SEO and build an enterprise-grade website architecture optimized for instant LLM indexing and automated customer capture, let’s connect at WhiteBalanceAI.com.
Visit WhiteBalanceAI →⭐ Found this helpful? Add WhiteBalanceAI as your Google Preferred Source so these WordPress guides show up more often for you. Set WhiteBalanceAI as a preferred source →
🚀 Starting your first website?
The platform you begin on shapes your speed, security, and how little you have to fight with later. The one I use and recommend is Hostinger — simple enough for a non-technical owner, runs WordPress cleanly, and handles the hosting essentials so you don’t manage servers.
Start with Hostinger →Disclosure: this is an affiliate link. If you sign up through it, I may earn a small commission at no extra cost to you. I only recommend tools I actually use and trust.
🌿 Want to see AEO in action?
Caloriematterss is a real-world niche food blog built with AEO (Answer Engine Optimization) and GEO (Generative Engine Optimization) principles from the ground up. Explore how structured recipes, FAQ schema, internal linking, and AI-friendly content work together in a live website.
Visit Caloriematterss →





5 Comments