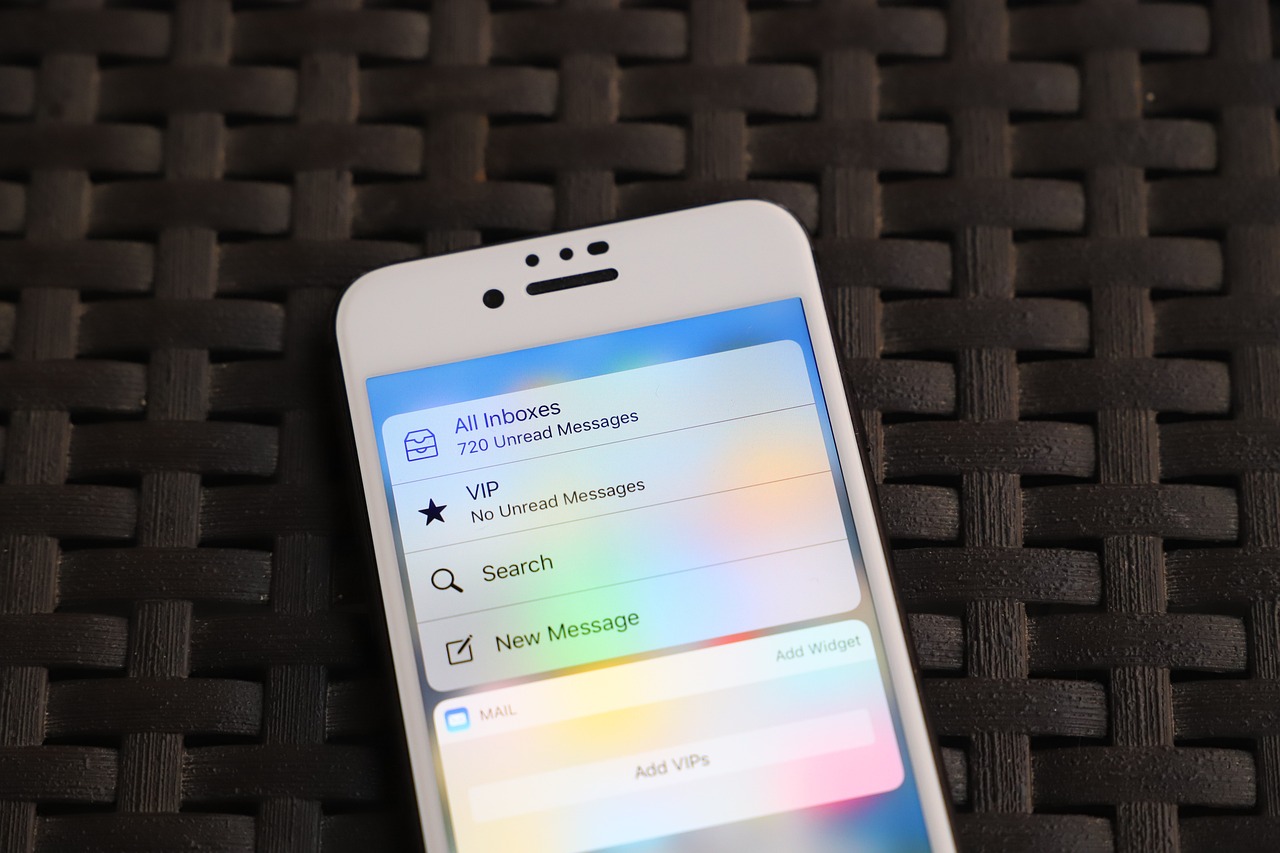
Learn how to set up a business email with Hostinger using your custom domain. A complete 2025 tutorial with Gmail setup, FAQs, and pro tips.
Setting up a business email with Hostinger is one of the smartest moves you can make for your personal brand or website in 2025. A custom email like you@yourdomain.com instantly boosts credibility, improves client trust, and keeps your inbox separate from your personal Gmail or Yahoo account.
This tutorial will walk you through the entire process — from accessing your Hostinger dashboard to sending your first email — in a clear, beginner-friendly way. If you’ve already connected your domain to Hostinger, this process will take less than 10 minutes.

Why You Need a Business Email with Hostinger
Using a business email with Hostinger helps you:
- Build trust with clients and readers
- Look professional on your blog, LinkedIn, and marketing materials
- Avoid spam filters (which often catch free email addresses)
- Manage work and communication separately from personal email
If you’re blogging, freelancing, or building a digital product brand — you need this. And Hostinger makes it incredibly easy.
What You’ll Need Before You Start
To set up your business email with Hostinger, make sure you already have:
- A Hostinger hosting plan
- A connected domain (either bought on Hostinger or pointed to it)
- Access to your Hostinger dashboard
Step-by-Step: How to Set Up Business Email with Hostinger
Step 1: Log Into Your Hostinger Dashboard
- Go to hostinger.com
- Click “Log In” and enter your credentials
- On your dashboard, click on the domain you want to use
The dashboard should show options like Hosting, Email, SSL, etc.
You can buy your hosting through my Hostinger referral link and get a massive discount – it helped me, and it’ll help you save too!
Step 2: Navigate to Email → Manage Email Accounts
- On your domain dashboard, click “Email”
- Select “Email Accounts”
- Click “Create New Email Account”
Step 4: Access Webmail or Connect to Gmail
You can access this email in two ways:
🔹 Option 1: Hostinger Webmail
- From your dashboard, click “Access Webmail”
- You can read and send emails directly from Hostinger
🔹 Option 2: Link to Gmail (Recommended)
- Open Gmail → Settings → Accounts and Import
- Under Check mail from other accounts, click Add a mail account
- Enter your new Hostinger business email
- Enter POP3 settings (from Hostinger’s email settings page)
- Also configure SMTP under Send mail as
- Gmail will now send and receive using your business email with Hostinger
This keeps all your business messages inside your Gmail inbox — organized, secure, and brand-aligned.
How to Add Email Signature for Your Business Email
A professional signature is essential.
Example:
nginxCopyEditBest regards,
Priya Sharma
Founder, HealthyGlow.in
📧 contact@healthyglow.in
🌐 www.healthyglow.in
To add this:
- Log into Webmail or Gmail
- Go to Settings → Signature
- Paste your signature and save
Free vs Titan Business Email – What’s the Difference?
Hostinger offers both free email and premium Titan email plans.
| Feature | Free Hostinger Email | Titan Business Email |
|---|---|---|
| Storage | 1GB | 10GB – 50GB |
| Custom domain email | Yes | Yes |
| Built-in calendar | No | Yes |
| Advanced features | No | Yes (Read Receipts, Templates) |
| Mobile App | No | Yes |
If you’re just starting, the free Hostinger email is perfect.
For teams or high-traffic blogs, Titan is worth the upgrade.
5 Reasons to Use a Business Email Instead of Gmail
Professional Appearance – No more “@gmail.com” on invoices or your blog
Better Branding – Your domain is visible every time you send a message
More Trust – People take you seriously (especially for affiliate pitches and client work)
Better Deliverability – Less chance of being flagged as spam
Separate Inbox – Keep your personal inbox clean and focused
How Many Emails Can I Create with Hostinger?
With most Hostinger plans (like Premium or Business), you can create up to 100 business email addresses.
Examples:
All can be managed inside your Hostinger dashboard.
How to Set Up Email Forwarding in Hostinger
If you want to receive all emails in another inbox:
- Go to Hostinger → Email → Forwarders
- Add your business email as the source
- Add your Gmail or backup email as the destination
- Click Save
You’ll now receive all emails in both inboxes — great for monitoring without switching apps.
FAQs About Business Email with Hostinger
You may Like –7 Best Dals for IBS Relief – Easy Indian Recipes for Gut Health
Related Topic –7 Best Hosting Plans in India for Bloggers (2025 Comparison)


